
It looks like you’ve successfully deployed your site to Netlify, and you’re ready to make and deploy changes. That’s fantastic! The automated deployment process with Netlify indeed streamlines the workflow.
Here’s a summary of the steps you’ve taken:
Authorize Netlify on GitHub:
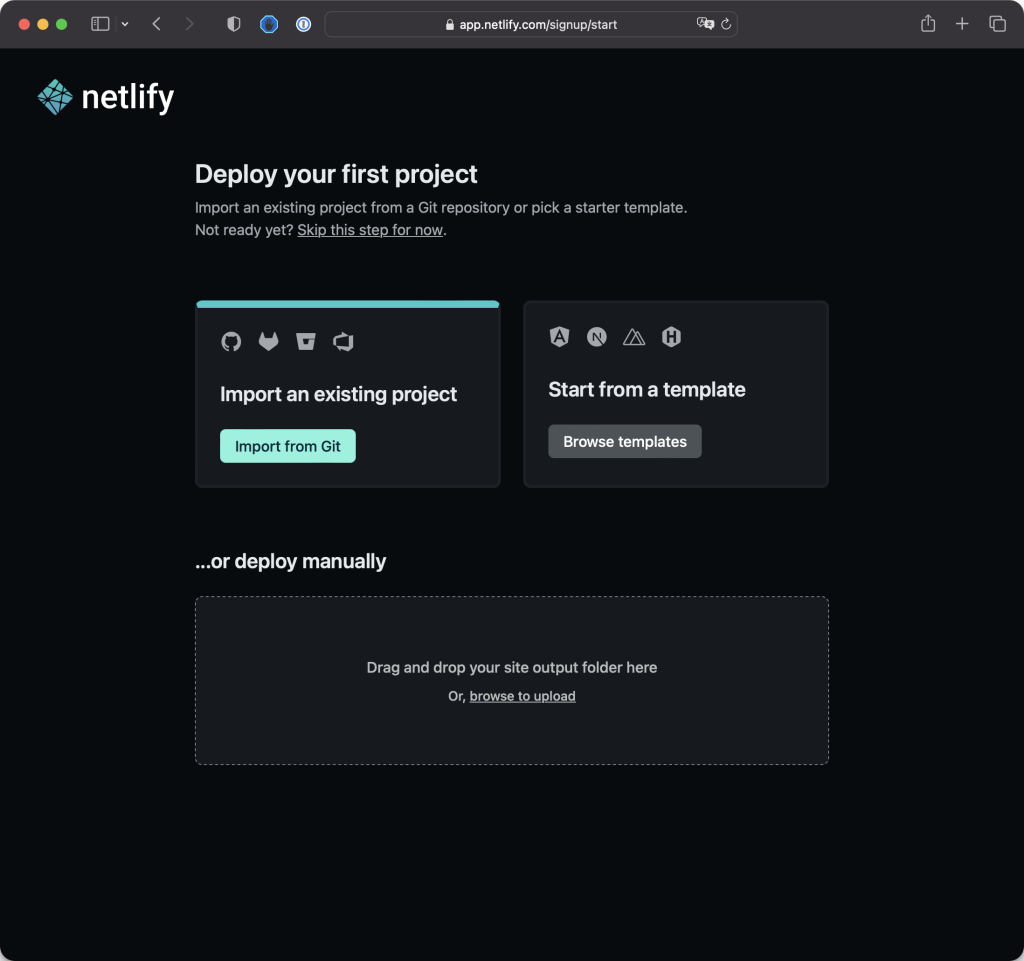
- Clicked on “Import from Git” on Netlify.
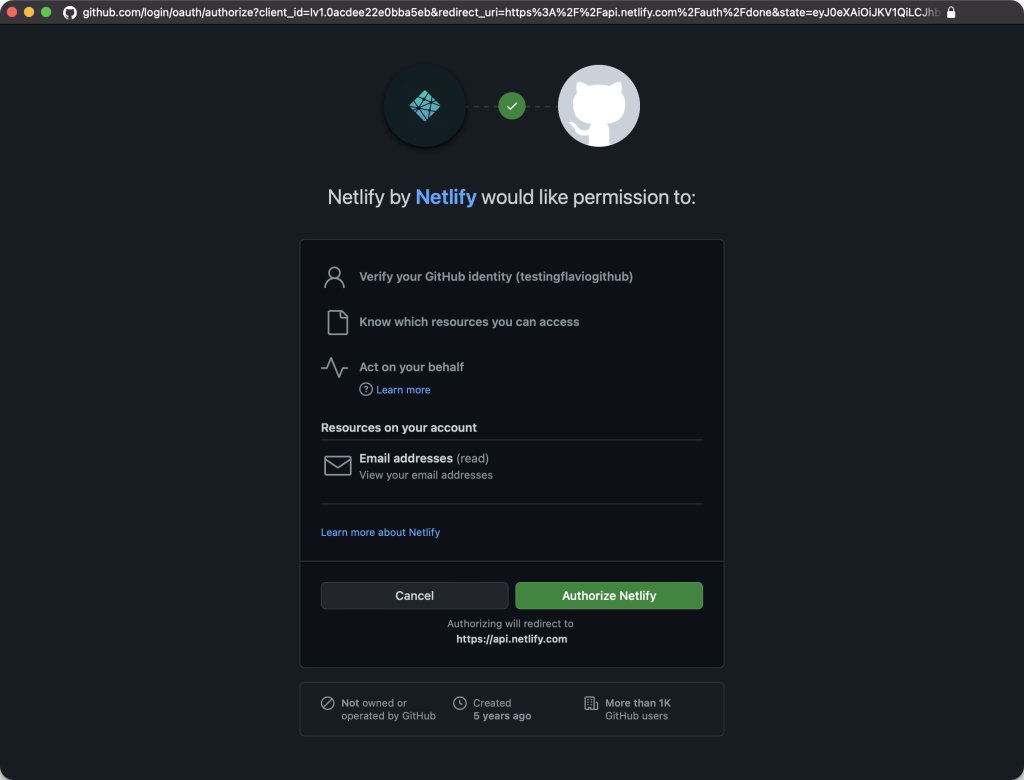
- Chose GitHub and authorized Netlify to access GitHub repositories.
Select Repository and Deploy:
- Picked the GitHub repository you want to deploy.
- Clicked “Deploy site” on Netlify.

Monitor Deployment:
- Netlify proceeded to deploy the site using the code from the GitHub repo.
- You monitored the deployment progress on Netlify.
View Live Site:
- The site was successfully deployed on a .netlify.app domain.
- You viewed your live site on the provided domain.
Automatic Redeployment:
- Netlify automatically detected the change and redeployed the site.
- You saw the changes live on the .netlify.app domain.
Additional Tips:
- Custom Domain: Consider buying and assigning a custom domain if your project becomes more serious. Netlify allows easy integration with custom domains.
- Automated Deployment: The beauty of this setup is the automatic deployment. Every time you make changes, commit, and push to GitHub, Netlify takes care of deploying the updates.
- Productivity Boost: This automated deployment process enhances productivity by eliminating manual deployment steps.
Congratulations on successfully deploying your site! If you have any further questions or if there’s anything else you’d like to explore, feel free to ask. Happy coding!